Safety Precautions
Always unplug the machine after use and before cleaning. Never operate with a damaged cord or if the machine is malfunctioning. Keep children away while sewing. Avoid sewing near water or in humid conditions. Use only recommended attachments and follow the manual’s guidelines for proper usage. Regularly inspect the machine for wear and tear to ensure safe operation.
- Never leave the machine unattended while plugged in.
- Avoid sewing when fatigued or distracted.
- Keep loose clothing and long hair tied back while sewing.
- Use the correct needle type to prevent breakage.
Importance of Following Safety Guidelines
Adhering to safety guidelines is crucial to prevent accidents, protect the machine, and ensure optimal performance. Proper practices minimize risks of injury, electrical hazards, and mechanical damage. By following instructions, you safeguard yourself and prolong the machine’s lifespan. Neglecting safety precautions can lead to costly repairs or harm. Always prioritize caution to create a safer sewing environment and achieve professional results consistently.
- Prevents potential injuries and electrical risks.
- Ensures machine longevity and functionality.
- Supports efficient and precise sewing outcomes.
Essential Safety Tips
Always keep the work area clean and well-lit to avoid accidents. Never sew near flammable materials or water. Use the correct needle type to prevent breakage. Avoid wearing loose jewelry or clothing that could get caught. Keep children and pets away while operating the machine. Regularly inspect the power cord and plug for damage. Ensure the machine is placed on a stable, flat surface. Never touch sharp parts like needles or cutters with bare hands. Store the machine in a dry, cool place when not in use to prevent rust and damage.
- Keep the sewing area clear of clutter and obstacles.
- Avoid sewing when tired or distracted.
- Use the machine only for its intended purpose.
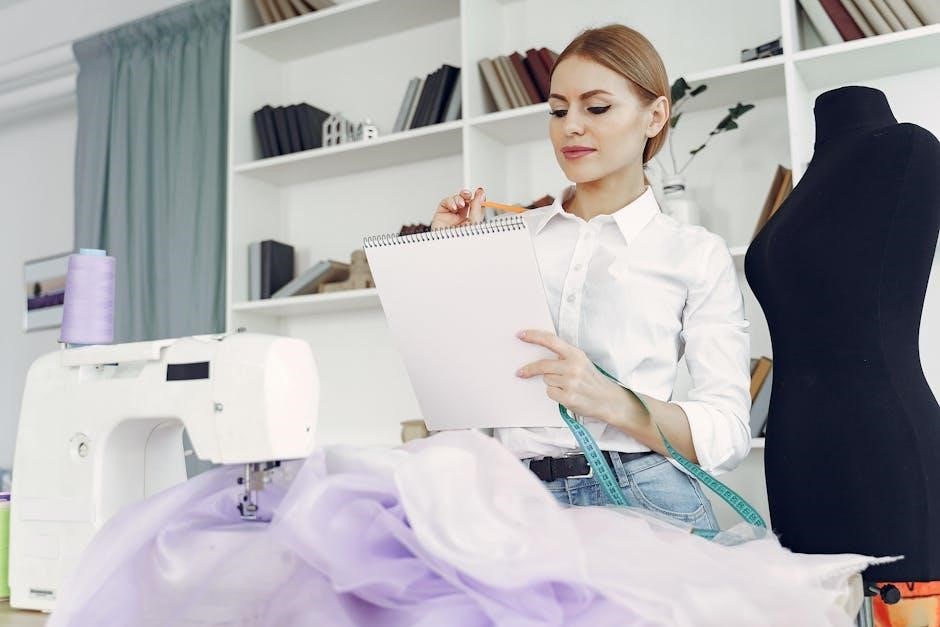
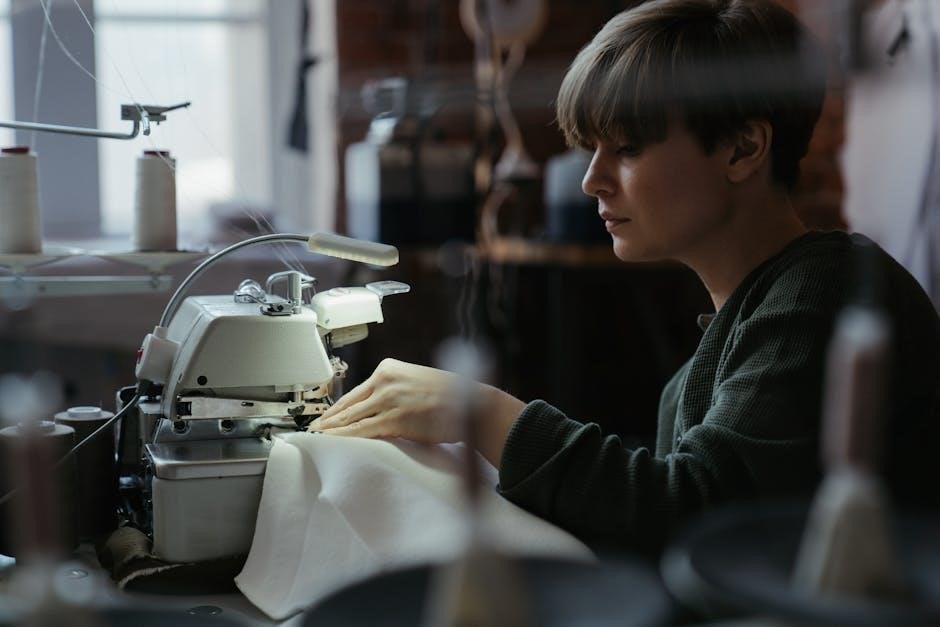
Understanding the Machine
Understanding the machine involves familiarizing yourself with its key components, such as the needle, presser foot, and bobbin area. Refer to the manual for model-specific guidance to ensure proper operation and maintenance. This knowledge will help you troubleshoot common issues and optimize your sewing experience.
Principal Parts of the Machine
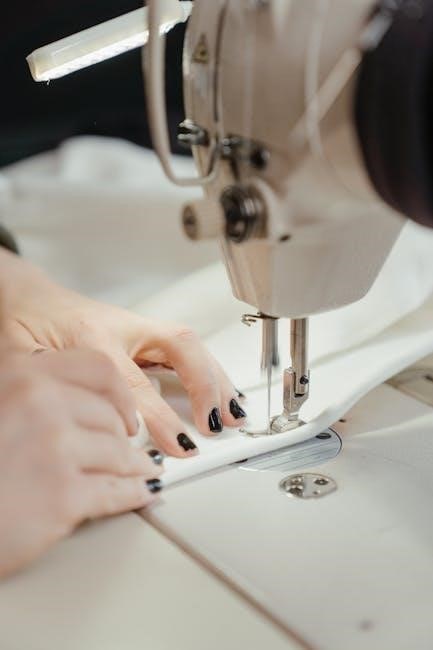
The Euro Pro sewing machine features essential components like the needle, presser foot, and bobbin area. The tension dials adjust thread tightness, while the stitch selector allows choosing different patterns. The embroidery hoop is used for decorative stitching, and the free-arm design enables sewing cuffs and sleeves. Refer to your manual for a detailed diagram and descriptions of each part to ensure proper usage and maintenance.
- Needle: For fabric penetration and stitch formation.
- Presser foot: Holds fabric in place during sewing.
- Bobbin area: Manages the lower thread supply.
Machine Models and Variations
Euro Pro sewing machines come in various models, each offering unique features. The Euro-Pro 420 is a mechanical model with basic stitches, while the Euro-Pro 7100 and 7500 include programmable stitches and embroidery options. Other models like the Euro-Pro 372 and 373 cater to specific sewing needs, with variations in stitch count and advanced functions like automatic thread cutters. Check your manual for model-specific details and capabilities.
- Euro-Pro 420: Basic mechanical model with essential stitches.
- Euro-Pro 7100/7500: Advanced models with programmable stitches and embroidery.
- Euro-Pro 372/373: Entry-level models for simple sewing tasks.
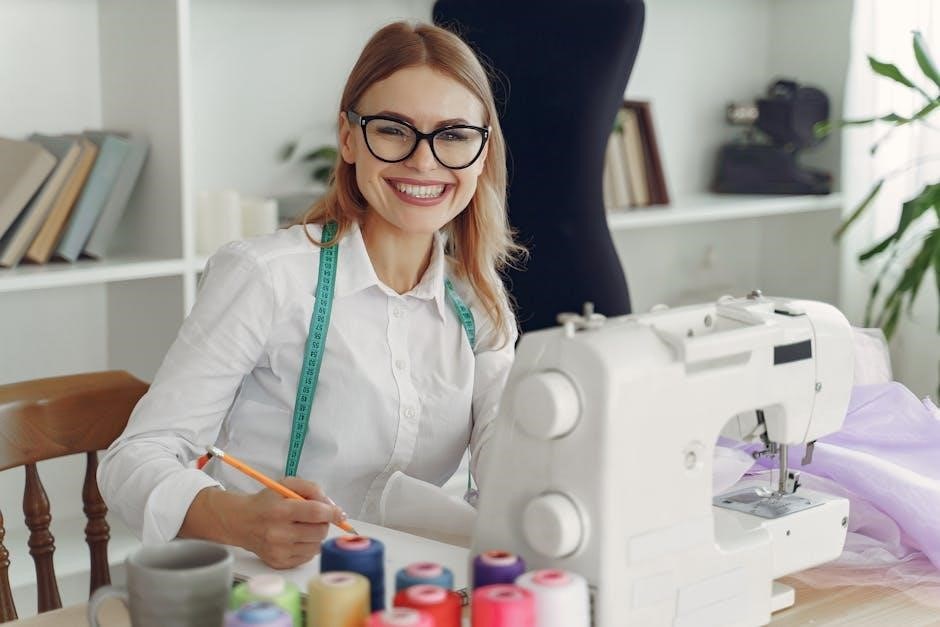
Setting Up the Machine
Unpack and place the machine on a stable surface. Plug in the power cord and ensure all parts are securely attached. Refer to the manual for specific assembly instructions.
- Ensure the machine is placed on a flat, sturdy table.
- Attach any additional accessories as outlined in the manual.
Unpacking and Initial Setup
Begin by carefully unpacking the sewing machine and accessories from the box. Place the machine on a stable, flat surface. Remove all packaging materials and inspect for any damage. Plug in the power cord, ensuring it is securely connected. Refer to the manual for specific assembly instructions, such as attaching the presser foot or other components. Ensure all parts are properly aligned and tightened before first use.
- Check all accessories, like bobbins and needles, are included.
- Verify the machine is set to the correct voltage for your power source.
- Consult the manual for any model-specific setup requirements.
Oiling and Maintenance
Regular maintenance ensures optimal performance; Use high-quality sewing machine oil to lubricate moving parts, following the manual’s guidelines. Apply a few drops to the bobbin area and other specified points. Avoid over-oiling to prevent residue buildup. Clean the machine with a soft cloth, removing lint and debris. Perform these tasks every 30 hours of use or as recommended.
- Use only oil designed for sewing machines to prevent damage.
- Turn the handwheel gently to distribute oil evenly.
- Cleaning and oiling regularly extends the machine’s lifespan.
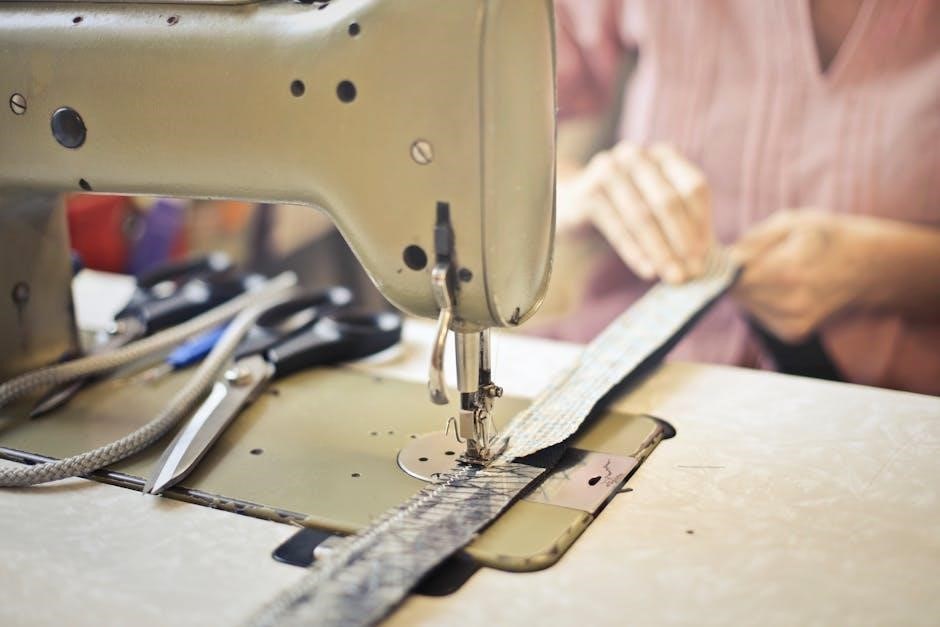
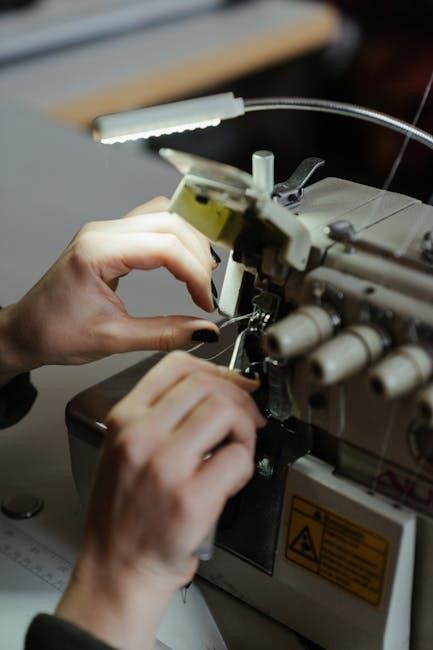
Threading the Machine
Proper threading is essential for smooth operation. Guide the thread through the tension discs and take-up lever, ensuring it aligns with the machine’s design to prevent issues.
- Always follow the manual’s threading path for accuracy.
- Use high-quality thread suitable for your fabric type.
Upper Thread Path and Tension
Guide the thread through the machine’s tension discs and take-up lever, ensuring it follows the designated path. Proper tension is crucial for consistent stitching. If the thread is too loose, stitches may be uneven, while excessive tension can cause thread breakage. Adjust the tension dial as needed, referring to the manual for specific guidance. Always test the thread tension on a scrap fabric before sewing your project.
- Follow the manual’s threading diagram for accuracy.
- Use the correct thread type for your fabric.
Threading the Bobbin
Insert the bobbin into the bobbin case, ensuring it sits securely. Pass the thread through the case’s tension spring and pull gently to seat it. Wind the thread around the bobbin, keeping it taut but not overly tight. Use the machine’s built-in cutter to trim excess thread. Always refer to the manual for specific bobbin threading instructions for your Euro Pro model to ensure proper setup and function.
- Cut the thread close to the bobbin after winding.
- Test the bobbin tension by gently tugging the thread.
Winding the Bobbin
Place the bobbin on the winder, pull thread through the guide, wind slowly, cut excess, and ensure even wrapping for optimal tension.
Step-by-Step Bobbin Winding Guide
Place the bobbin on the winder and pull thread through the guide. Wind slowly, ensuring even wrapping without overfilling. Stop when the thread reaches the edge, leaving a small tail. Cut excess thread neatly and insert the bobbin into the machine, ensuring proper alignment for smooth operation. This ensures consistent tension for optimal stitching results.
- Align the bobbin correctly on the winder.
- Thread through the machine’s tension guide.
- Wind slowly to avoid tangling.
Tips for Proper Bobbin Tension
Ensure the bobbin is seated correctly in the case and thread passes through the tension spring. Adjust the screw on the bobbin case gently to achieve balanced tension. Test by pulling the thread; it should resist slightly but not feel too tight. Avoid over-tightening, as this can cause poor stitch formation or machine jamming. Proper tension ensures smooth stitching and prevents fabric puckering.
- Use the correct thread type for your fabric.
- Check tension by gently tugging the thread.
- Adjust the bobbin case screw carefully.
Selecting the Right Stitch
Choose stitches based on fabric type: straight for cotton, zigzag for knits, and stretch for elastic materials. Consult the manual for optimal settings and stitch compatibility.
- Cotton: Straight or basic running stitch.
- Silk: Sharp needle with short straight stitch.
- Knits: Zigzag or stretch stitch for flexibility.
Stitch Selection for Different Fabrics
Selecting the right stitch ensures optimal results for your fabric type. Use straight stitches for cotton and linen, zigzag for knits, and overlock for stretchy materials. Heavy-duty fabrics like denim require reinforced stitches, while delicate fabrics like silk benefit from fine, short straight stitches. Consult your Euro Pro manual for specific settings and recommendations to achieve professional-grade seams and prevent fabric damage. Proper stitch selection enhances durability and finish.
Adjusting Stitch Length and Width
Adjusting stitch length and width on your Euro Pro sewing machine is crucial for perfect seams. Use the LCD screen or control buttons to modify settings, ensuring they suit your fabric type. For heavy fabrics, increase stitch length, while delicate materials require shorter stitches. Refer to your manual for specific guidelines. Testing on scrap fabric ensures ideal tension and stitch formation, preventing unwanted results.
Using the Presser Foot
The presser foot ensures fabric moves smoothly under the needle. Choose the right foot for your fabric type to achieve even feeding and prevent bunching. Always lower it before sewing for consistent results.
Types of Presser Feet
The Euro Pro sewing machine comes with various presser feet to suit different sewing tasks. The zigzag foot is ideal for general sewing, while the Teflon foot glides smoothly over delicate or slippery fabrics. The zipper foot is perfect for installing zippers, and the blind hem foot is designed for invisible hems. Each foot is designed to enhance precision and control for specific projects.
- Zigzag foot: General sewing and straight-stitch projects.
- Teflon foot: For smooth operation on delicate or stretchy fabrics.
- Zipper foot: Precise zipper installation and close sewing.
- Blind hem foot: Creates nearly invisible hems on fabrics.
Adjusting Presser Foot Tension
Adjust the presser foot tension to ensure proper fabric feeding and even stitching. Use a screwdriver to turn the adjustment screw located on the presser foot mechanism. Tighten for heavier fabrics and loosen for lighter materials. Be careful not to over-tighten, as this may damage the machine. Refer to your Euro Pro sewing machine manual for specific instructions and diagrams to guide you through the process.
- Locate the adjustment screw on the presser foot.
- Turn the screw clockwise to increase tension or counterclockwise to decrease it.
- Test the tension by sewing a scrap fabric piece.
- Refer to the manual for exact screw locations and torque specifications.
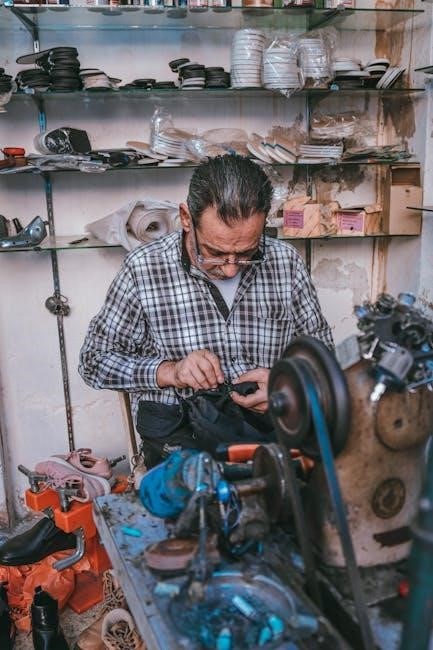
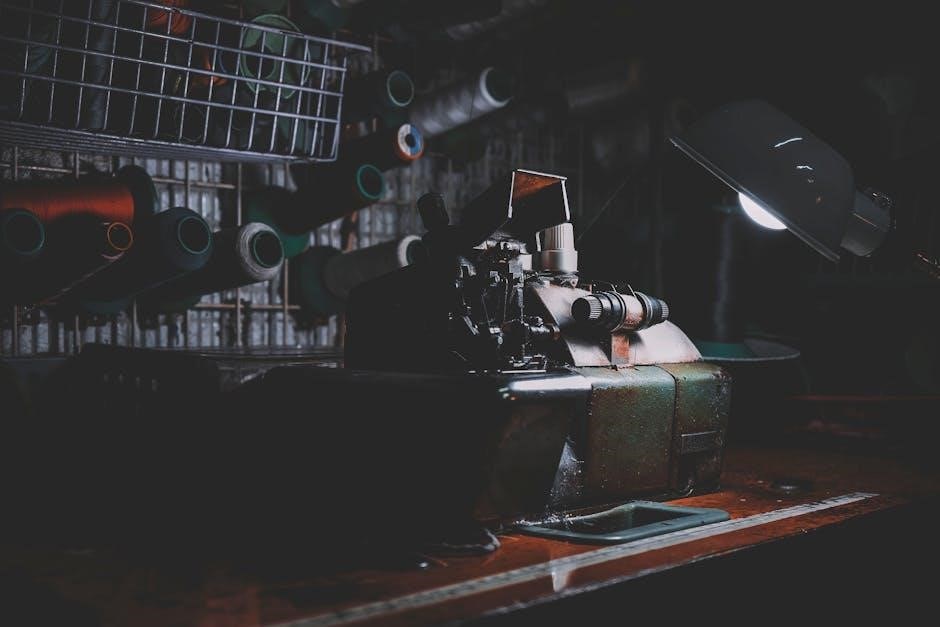
Maintenance and Troubleshooting
Regularly clean and oil the machine to ensure smooth operation. Check for loose parts and tighten if necessary. Consult the manual for common issues like thread jams or uneven stitching.
- Oil moving parts as specified in the manual.
- Replace worn or damaged needles promptly.
- Store the machine in a dry, cool place.
Regular Maintenance Tasks
Regular maintenance ensures optimal performance of your Euro Pro sewing machine. Clean the bobbin area and feed dogs weekly to remove debris. Oil the machine after every 10 hours of use to keep parts lubricated and running smoothly. Check and replace the needle every 1-2 months or when signs of wear appear. Dust the exterior with a soft cloth to prevent buildup. Store the machine in a dry environment to prevent rust.
- Clean the machine after each use to prevent lint accumulation.
- Inspect the tension discs and springs for proper alignment.
- Refer to the manual for specific maintenance schedules and recommendations.
Common Issues and Solutions
Common issues with Euro Pro sewing machines include thread bunching, uneven stitching, and machine not powering on. For thread issues, check tension settings and clean the bobbin area. If the machine won’t turn on, ensure it’s properly plugged in and the power switch is functioning. For uneven stitches, adjust the stitch length and width or replace a worn-out needle. Regular oiling can prevent mechanical friction issues.
- Thread breakage: Re-thread the machine and ensure proper tension.
- Machine noise: Lubricate moving parts and clean debris.
Accessories and Attachments
Euro Pro sewing machines offer various accessories like bobbin cases, presser feet, and replacement needles. These attachments enhance functionality for specific tasks, ensuring compatibility with your machine model.
- Presser feet for zippers, buttons, and quilting.
- Bobbin cases designed for consistent thread tension.
Compatible Accessories
Euro Pro sewing machines support a variety of compatible accessories, including bobbin cases, presser feet, and needles. The zipper foot simplifies zipper installation, while the buttonhole foot ensures precise buttonhole creation. Quilting feet and extension tables enhance workspace for larger projects. Additionally, specialized feet for delicate or heavy fabrics improve stitching accuracy. These accessories are designed to optimize performance and cater to diverse sewing needs, ensuring compatibility with your Euro Pro model. Always use genuine parts for reliability.
- Zipper foot for smooth zipper applications.
- Buttonhole foot for custom buttonholes.
- Quilting feet and extension tables.
- Specialized feet for various fabrics.
Installing and Using Attachments
Installing attachments on your Euro Pro sewing machine is straightforward. Align the attachment’s pins with the machine’s receptacle, ensuring a secure fit. Tighten firmly to prevent movement during use. Always refer to the manual for specific attachment installation steps. Test the attachment with a scrap fabric before starting your project. Properly installed attachments enhance stitching accuracy and versatility, allowing you to tackle various sewing tasks efficiently.
- Align attachment pins with the machine’s receptacle.
- Tighten securely to ensure stability.
- Test with scrap fabric before use.
Tips for Various Sewing Projects
For delicates, use a sharp needle and lightweight thread. Heavy fabrics require sturdy needles and strong thread. Always pre-wash fabrics to ensure shrinkage control and accurate sizing.
- Use a walking foot for thick or layered fabrics.
- Choose stretch needles for knits and stretchy materials.
- Test stitches on scrap fabric before sewing actual projects.
Sewing Delicates and Heavy Fabrics
Use sharp needles for delicate fabrics like silk or chiffon, and heavy-duty needles for thick materials such as denim or canvas. Adjust stitch length and tension according to fabric weight. Pre-wash fabrics to account for shrinkage. For heavy fabrics, use a walking foot to prevent bunching. Always test stitches on scrap fabric to ensure proper settings and avoid damage to your project.
- Opt for ballpoint needles when sewing knits or stretchy fabrics.
- Use a Teflon foot for smooth sewing on leather or vinyl.
- Shorten stitch length for delicate fabrics to avoid tearing.
Sewing Knits and Stretchy Fabrics
Use ballpoint or stretch needles for sewing knits and stretchy fabrics. Select zigzag or overlock stitches to prevent fabric pulling. Loosen thread tension slightly for smoother sewing. Use a walking foot or Teflon foot for better control. Always pre-stretch fabric before sewing to ensure fit. Test stitches on scrap fabric to achieve the right balance of stretch and stability.
- Opt for a serger or overlock stitch for professional finishes.
- Use a longer stitch length for heavier knits.
This concludes your Euro Pro sewing machine guide. By following these steps, you’ll master essential skills and enjoy seamless sewing experiences. Happy sewing!
Additional Resources
This manual covers essential steps for setting up and using your Euro Pro sewing machine, including threading, bobbin winding, and selecting stitches. Safety tips, maintenance routines, and troubleshooting common issues are emphasized to ensure optimal performance and longevity. By adhering to these guidelines, you’ll achieve professional results and extend the life of your machine. Practice regularly to refine your skills and explore various sewing projects with confidence.