Auto detailing is essential for maintaining your vehicle’s appearance and resale value. It involves thorough cleaning, polishing, and protection of both exterior and interior surfaces for optimal results.
1.1 Importance of Regular Vehicle Detailing
Regular vehicle detailing is crucial for maintaining both the aesthetic and functional aspects of your car. It protects exterior surfaces from environmental damage, preserves interior materials, and ensures a clean, hygienic environment. Detailing also prevents long-term wear and tear, such as paint fading or upholstery stains. By addressing issues early, it saves money on repairs and enhances your vehicle’s resale value. A well-detailed car not only looks newer for longer but also provides a safer and more comfortable driving experience, making regular detailing a worthwhile investment in your vehicle’s longevity.
1.2 Benefits of Using a Detailing Checklist
A detailing checklist ensures consistency and thoroughness in maintaining your vehicle’s condition. It helps organize tasks, preventing overlooked areas and saving time. By following a checklist, you can address specific needs, such as exterior paint protection or interior sanitizing, systematically. This approach enhances efficiency and ensures every detail is perfected. Additionally, a checklist serves as a guide for novices, helping them achieve professional-level results. Regular use of a checklist promotes accountability and maintains your car’s value, making it a vital tool for any detailing routine.
Exterior Detailing Checklist
Exterior detailing focuses on enhancing your vehicle’s visual appeal. Key tasks include washing, paint correction, wheel cleaning, glass treatment, and trim restoration to achieve a showroom finish.
2.1 Washing and Drying Techniques
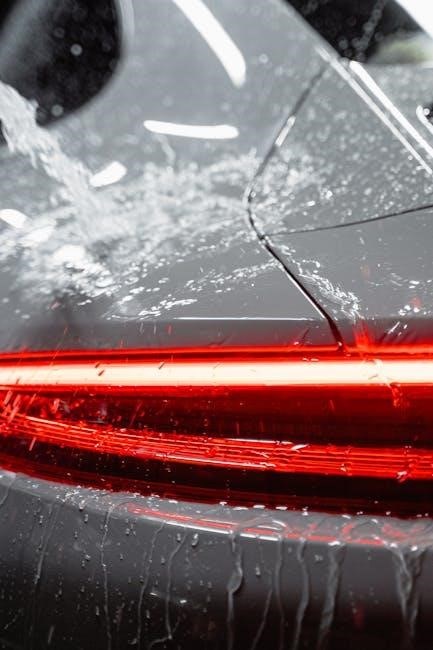
Proper washing techniques are crucial for maintaining your vehicle’s paint finish. Use a mild detergent and soft sponges to avoid scratches. Rinse thoroughly to remove soap residue. For drying, microfiber towels or chamois are recommended to prevent water spots. Avoid using household cleaners, as they can damage the paint. Regular washing helps maintain the vehicle’s appearance and protects the exterior surfaces from dirt and contaminants. Always wash in the shade to prevent water spots from forming due to direct sunlight. This step ensures a clean base for further detailing processes.
2.2 Paint Correction and Polish
Paint correction involves removing imperfections like scratches, swirl marks, and oxidation to restore the vehicle’s original finish. Use a dual-action polisher with varying grit pads for different defects. Start with coarse grit for deep scratches, then switch to finer grit for smoothing. Apply polish evenly, working section by section. Buffing enhances gloss and removes minor imperfections. Regular polishing protects the paint from environmental damage and maintains its shine. This step is essential for achieving a showroom-like appearance and preserving the vehicle’s long-term value.
2.3 Wheel and Tire Cleaning
Start by rinsing wheels and tires with a powerful jet of water to remove loose debris. Apply a wheel cleaner, ensuring coverage of rims and tires. Let it sit briefly before scrubbing with a brush to tackle stubborn grime. Avoid using household cleaners, as they may damage finishes. Rinse thoroughly and dry with a microfiber towel. For tires, use a dedicated cleaner to remove dirt and dressings, then apply a tire shine or dressing for a glossy finish. Clean wheels and tires regularly to maintain their appearance and protect against corrosion.
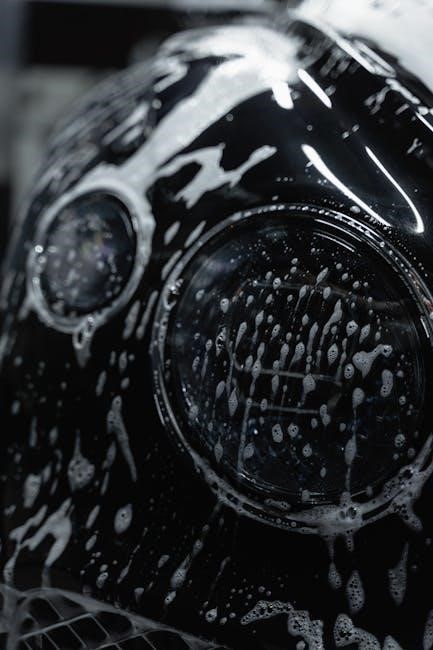
2.4 Glass Cleaning and Protection
Begin by cleaning all glass surfaces, including windshields, side windows, and rear glass, using a glass-specific cleaner and a microfiber cloth to avoid streaks. Avoid using household cleaners, as they may leave residue or damage tinted windows. Use a circular motion to ensure thorough cleaning and remove any smudges or fingerprints. For stubborn spots, repeat the process until clear. Finally, apply a glass sealant or rain-repellent coating to protect the surfaces from water spots and improve visibility during rain. Regular cleaning and protection maintain clarity and safety.
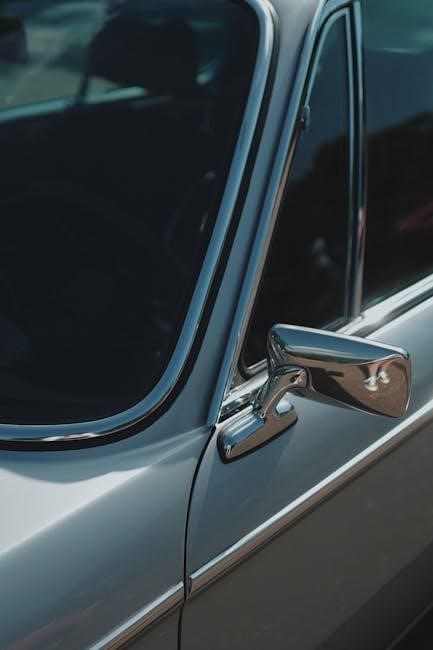
2.5 Trim and Molding Restoration
Restoring exterior trim and molding enhances your vehicle’s appearance and protects these components from environmental damage. Use a specialized trim cleaner to remove dirt and oxidation from plastic, chrome, or aluminum surfaces. Gently scrub with a soft-bristle brush to avoid scratching. After cleaning, apply a trim restorer or protective coating to revive the original finish and shield against UV rays. Regular maintenance prevents fading and ensures a polished look. This step is crucial for preserving your car’s aesthetic appeal and long-term durability of its exterior accents.
Interior Detailing Checklist
Interior detailing focuses on deep cleaning, sanitizing, and protecting surfaces inside your vehicle. This includes upholstery, carpets, dashboards, and glass, ensuring a clean, fresh, and hygienic environment.
3.1 Vacuuming and Upholstery Cleaning
Start with thorough vacuuming, using crevice tools for tight spaces. Remove loose dirt from seats and carpets. For tougher stains, apply fabric cleaner or steam cleaner. Gently blot spills with a clean cloth, avoiding rubbing to prevent fabric damage. Use a microfiber cloth to wipe down surfaces and remove excess moisture. Pay special attention to high-contact areas like armrests and seat belts. For leather upholstery, use a leather-specific cleaner and conditioner to maintain softness and durability. Ensure all surfaces are dry to prevent mold or odors.
3.2 Dashboard and Surface Sanitizing
Begin by wiping down all surfaces with a soft, microfiber cloth to remove dust and debris. Use a mild cleaning solution or sanitizing spray, avoiding harsh chemicals that may damage materials. Pay attention to high-touch areas like the steering wheel, gearshift, and controls. Gently scrub any stubborn stains or grime. Use a clean, damp cloth to remove excess cleaner, ensuring no residue remains. Avoid using paper towels, as they may leave lint or scratch sensitive surfaces. Finally, dry all areas thoroughly to prevent streaks or water spots.
3;3 Carpet and Floor Mat Shampooing
Start by vacuuming the carpets and floor mats thoroughly to remove loose dirt and debris. Apply a carpet shampoo evenly, working it into the fabric with a soft-bristle brush. Allow the shampoo to sit for a few minutes to break down stains. Use a wet vacuum or clean towels to rinse and blot the area, removing excess moisture. Avoid soaking the carpets to prevent mold or mildew; For tough stains, repeat the process as needed. Finally, let the carpets air dry completely before replacing the floor mats.
3.4 Glass and Mirror Cleaning
Clean all glass surfaces, including windshields, side windows, rear windows, and mirrors, using a high-quality glass cleaner. Avoid using household cleaners, as they may leave streaks or damage tinted glass. Spray the cleaner onto a microfiber cloth, not directly onto the glass, to prevent overspray. Wipe in a circular motion, starting from the top and working down. Use a dry microfiber cloth to wipe away excess moisture and prevent streaks. Repeat if necessary for spotless clarity. Ensure all mirrors, including side mirrors, are clean for optimal visibility and safety.
3.5 Odor Elimination and Air Freshening
Eliminate odors by identifying their sources, such as spills, smoke, or mold. Vacuum thoroughly, especially in carpets and upholstery, to remove odor-causing particles. Use an enzyme-based cleaner to break down organic matter; Sprinkle baking soda on surfaces, let it sit, then vacuum up for natural odor absorption. For tough smells, consider an ozone generator or professional detailing services. Once odors are removed, freshen the air with high-quality sprays or diffusers. Ensure a pleasant interior atmosphere for a comfortable driving experience and to maintain your vehicle’s appeal.

Additional Tips for DIY Detailing
Gather all supplies beforehand, follow a checklist, and test products on small areas first. Work in a shaded space to avoid water spots and ensure even drying for best results.
4.1 Tools and Supplies Needed
Essential tools include microfiber cloths, soft-bristle brushes, and a dual-action polisher. Supplies like car wash soap, wax, tire cleaner, glass cleaner, and interior sanitizers are must-haves. Use a bucket with a grit guard to prevent scratches. For interiors, a vacuum with upholstery attachments and carpet shampoo are necessary. Protect surfaces with trim dressings and fabric protectants. Always opt for high-quality products to ensure durability and a professional finish. Properly organizing these tools and supplies will streamline the detailing process and achieve optimal results.
4.2 Time Management for Effective Detailing
Effective time management is key to successful detailing. Start by prioritizing tasks based on urgency and complexity. Allocate specific time slots for exterior and interior detailing. Break down larger tasks into smaller, manageable steps, such as dedicating 30 minutes to washing and drying, and another 45 minutes to paint correction. Use a timer to stay on track and avoid over-spending time on a single area. Proper scheduling ensures a thorough and efficient detailing process, achieving professional-grade results without unnecessary delays or omissions. Consistency is crucial for maintaining your vehicle’s appearance.
4.3 Common Mistakes to Avoid
Avoid using household cleaners, as they can damage automotive surfaces. Never skip protective coatings like wax or ceramic. Forgetting to dry surfaces properly can lead to water spots. Using low-quality tools or improper techniques risks scratching paint or surfaces. Overlooking small areas, such as trim and moldings, can leave the vehicle looking unfinished. Ignoring these mistakes can compromise the detailing process, leading to subpar results. Always follow best practices and use recommended products to ensure a professional-grade finish. Attention to detail is crucial for achieving optimal outcomes in auto detailing.
How to Create a Custom Auto Detailing Checklist PDF
Creating a custom auto detailing checklist PDF involves using templates, tailoring to specific needs, and saving as a PDF for easy sharing and printing.
5.1 Using Templates for Convenience
Using templates simplifies the process of creating a custom auto detailing checklist PDF. Templates provide a structured format, saving time and ensuring all essential tasks are included. They are easily customizable to fit specific detailing needs, allowing users to add or remove sections as required. Many templates are pre-designed with professional layouts, enhancing readability and organization. Additionally, templates can be edited to match personal or brand preferences, making them a practical solution for both beginners and professionals. This convenience ensures consistency and efficiency in the detailing process.
5.2 Tailoring the Checklist to Your Vehicle
Tailoring your auto detailing checklist ensures it meets your vehicle’s specific needs. Consider the type of car, its age, and unique features. For example, SUVs may require additional attention to cargo areas, while luxury cars might need specialized leather care. Adjust the checklist to include or exclude tasks based on your vehicle’s requirements. This customization ensures efficiency and effectiveness, making the detailing process more personalized and thorough. Regularly update the checklist as your vehicle’s needs change over time.
5.3 Saving and Sharing the PDF
Once your custom auto detailing checklist is complete, save it as a PDF for easy access and sharing. Use tools like Adobe Acrobat or online converters to ensure compatibility. Share the PDF via email, cloud storage, or messaging apps with friends, family, or detailers. This allows everyone involved to follow the same detailed process. Consider saving multiple versions for different vehicles or detailing levels. Keeping a digital copy ensures you can easily update or print it whenever needed, making it a versatile resource for all your detailing projects.
Regular auto detailing enhances your vehicle’s appearance and longevity. A well-organized checklist ensures quality and efficiency. Consistency and attention to detail will keep your car in top condition.
6.1 Final Check and Inspection
After completing the detailing process, a final inspection ensures all tasks are done. Check exterior paint, glass, wheels, and tires for any missed spots. Inspect interior surfaces, upholstery, and carpets for cleanliness. Verify that all protective products are evenly applied. Ensure odors are eliminated and the vehicle smells fresh. Finally, review your checklist to confirm every step was followed. This thorough review guarantees a professional finish and customer satisfaction, making the effort worthwhile. Attention to detail here leaves a lasting impression. Use a checklist to ensure nothing is overlooked during the final inspection.
6.2 Scheduling Future Detailing Sessions
Regular detailing is key to maintaining your vehicle’s condition. Schedule future sessions based on usage and environmental factors. For daily drivers, plan detailing every 2-3 months. For vehicles exposed to harsh weather, consider monthly touch-ups. Use a digital calendar or planner to set reminders. Personalize your schedule to address specific needs, like seasonal deep cleans or pre-trip preparations. Consistency ensures long-term protection and aesthetics. Refer to your checklist to track progress and adjust timelines as needed. Staying organized prevents neglect and keeps your vehicle looking its best year-round. A well-planned routine enhances both functionality and appearance.