A knife sharpening angle guide is a tool designed to help maintain precise blade angles during sharpening, ensuring consistency and efficiency. It’s a simple yet effective solution for achieving professional results at home, perfect for both beginners and experienced knife enthusiasts. By providing a stable framework, it helps users master the optimal sharpening angles for various knife types, making the process easier and more accurate. This guide will walk you through creating your own homemade sharpening guide, offering a cost-effective alternative to commercial products.
Why a Sharpening Angle Guide is Essential
A sharpening angle guide is indispensable for maintaining precise control over blade angles during the sharpening process. It ensures consistency, preventing uneven edges and extending the knife’s lifespan. By providing a stable reference point, the guide helps users achieve the optimal angle for their knife type, whether it’s a chef’s knife, pocket knife, or cleaver. This tool is especially valuable for beginners, as it minimizes errors and accelerates the learning curve. Even experienced sharpeners benefit from its ability to maintain uniformity and precision, resulting in a sharper, more durable edge. Ultimately, it enhances the overall sharpening experience, making it more efficient and effective.
Understanding the Sharpening Angle
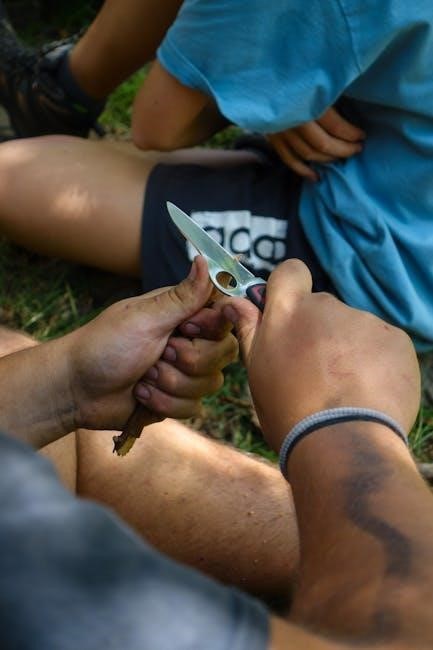
The sharpening angle refers to the angle at which the blade is held against the sharpening stone. Common angles range from 10 to 30 degrees, depending on the knife type and intended use. A smaller angle sharpens faster but may weaken the edge, while a larger angle produces a stronger, more durable edge. Precision in maintaining this angle is crucial for achieving a sharp, even edge, making it a fundamental aspect of effective knife sharpening.
Common Sharpening Angles for Different Knife Types
Knife types vary, and so do their ideal sharpening angles. General-purpose knives often use a 20-degree angle for a balanced edge. Straight-edge or chef’s knives typically range between 15-18 degrees for precision and sharpness. Outdoor or survival knives may use 22.5-25 degrees for durability, while fillet or precision knives benefit from a smaller 10-15 degree angle for a razor-sharp edge. Heavy-duty knives or axes might require a steeper 30-degree angle for strength. Understanding these angles ensures the right edge geometry for the knife’s intended use, balancing sharpness and longevity.
Materials and Tools Needed
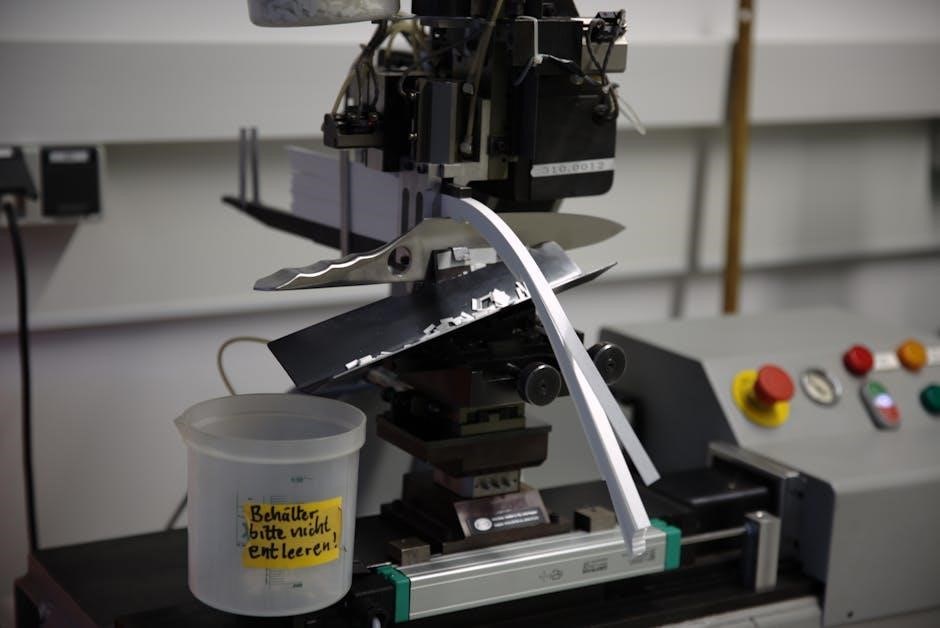
To craft a sharpening guide, you’ll need sturdy materials like wood, metal, or plastic, along with essential tools such as a saw, drill, and sandpaper. A ruler, pencil, and protractor or angle finder are crucial for precision. Optional tools include clamps and a rasp for finer details. Choosing the right materials ensures durability, while the tools help achieve the desired angles and finish.
Metal, Wood, or Plastic: Choosing the Right Material
When creating a knife sharpening angle guide, the choice of material significantly impacts its performance and durability. Metal offers exceptional strength and precision, making it ideal for long-term use, especially for frequent sharpening. Wood is a cost-effective and lightweight option, providing a smooth, non-abrasive surface that won’t damage blades. Plastic is another affordable choice, offering flexibility and ease of customization. Each material has its advantages, and the decision depends on personal preference, budget, and intended use. Properly finish and align the material to ensure stability and accuracy during the sharpening process.
Essential Tools for Crafting the Guide
To craft a knife sharpening angle guide, you’ll need a few essential tools. A saw or hobby knife is necessary for cutting materials like wood or plastic to size. A drill press or hand drill will help create precise holes for alignment pins or screws. Sandpaper is crucial for smoothing edges and surfaces. A protractor or angle finder ensures accurate angle measurements. Clamps are useful for holding pieces in place while gluing or assembling. Lastly, basic safety gear, such as gloves and goggles, is a must for protecting yourself during the process. These tools will help you build a functional and precise sharpening guide tailored to your needs.

Designing Your Knife Sharpening Angle Guide
Designing a knife sharpening angle guide involves choosing between fixed or adjustable models. Fixed guides offer simplicity, while adjustable ones provide versatility for different knife types. Both designs ensure precision and repeatability, making the sharpening process more efficient. The design should accommodate various blade sizes and angles, allowing for customization based on specific needs. With basic tools and materials, crafting a functional guide is achievable, offering a practical solution for maintaining sharp edges consistently;
Fixed vs. Adjustable Angle Guides
When deciding between fixed and adjustable angle guides, consider your sharpening needs. Fixed guides are ideal for users who primarily sharpen knives at a single, consistent angle, such as 20 degrees for everyday knives. They are simple to construct and provide excellent stability, ensuring precision with minimal setup. Adjustable guides, on the other hand, offer versatility for sharpening various knife types, from chef knives to hunting knives, which may require different angles. They allow customization, making them suitable for enthusiasts who work with multiple blade styles. Both options are effective, but the choice depends on your specific sharpening requirements and preference for convenience versus flexibility.
Constructing the Sharpening Guide
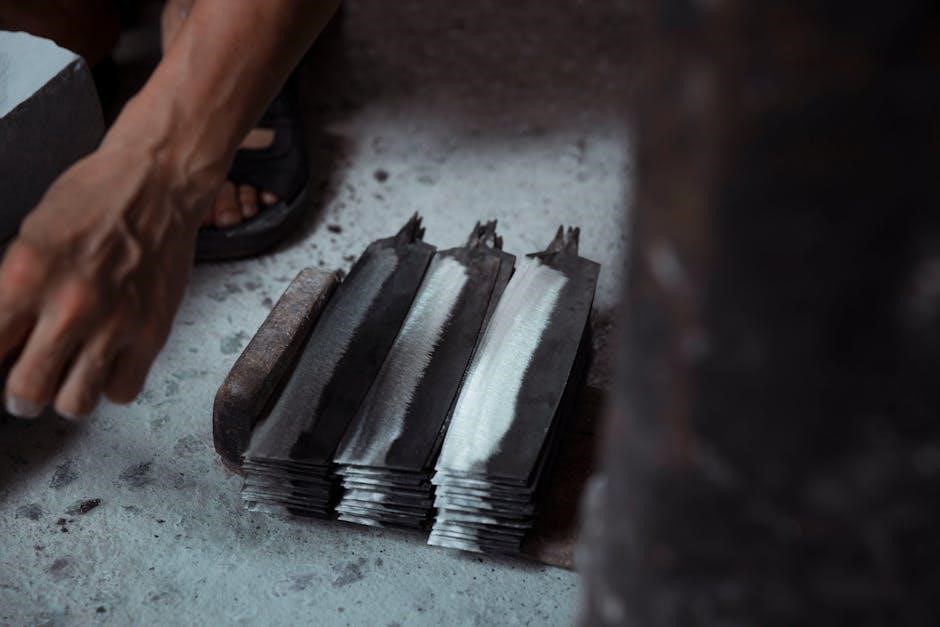
Constructing the sharpening guide involves assembling materials, ensuring precise alignment, and calibrating the angle for accuracy. This step is crucial for the tool’s effectiveness and reliability.
Step-by-Step Assembly Instructions
Begin by cutting your chosen material to the desired length and width. Use a saw or CNC machine for precise cuts. Next, mark and drill holes for the angle adjustment mechanism. Assemble the frame using screws or glue, ensuring all parts align perfectly. Attach the angle guide slot, making sure it is parallel to the blade holder. Secure the blade holder firmly, allowing for easy knife placement. Sand all surfaces for a smooth finish. Finally, test the guide by placing a knife inside and adjusting the angle to ensure proper alignment. This step-by-step process ensures a functional and durable sharpening guide.
Calibrating the Angle for Precision
Calibrating your sharpening guide ensures accurate and consistent angles. Start by setting the guide to your desired angle, such as 20 degrees for most knives. Use a protractor or digital angle gauge to verify precision. Mark the angle on the guide for future reference. Test the calibration by sharpening a blade and checking the edge with a marker or magnifying glass. Adjust the guide as needed until the edge is evenly sharpened. Repeat the process for different angles to ensure versatility. Proper calibration is key to achieving sharp, precise edges every time and extends the life of your knives.
Testing and Refining the Guide
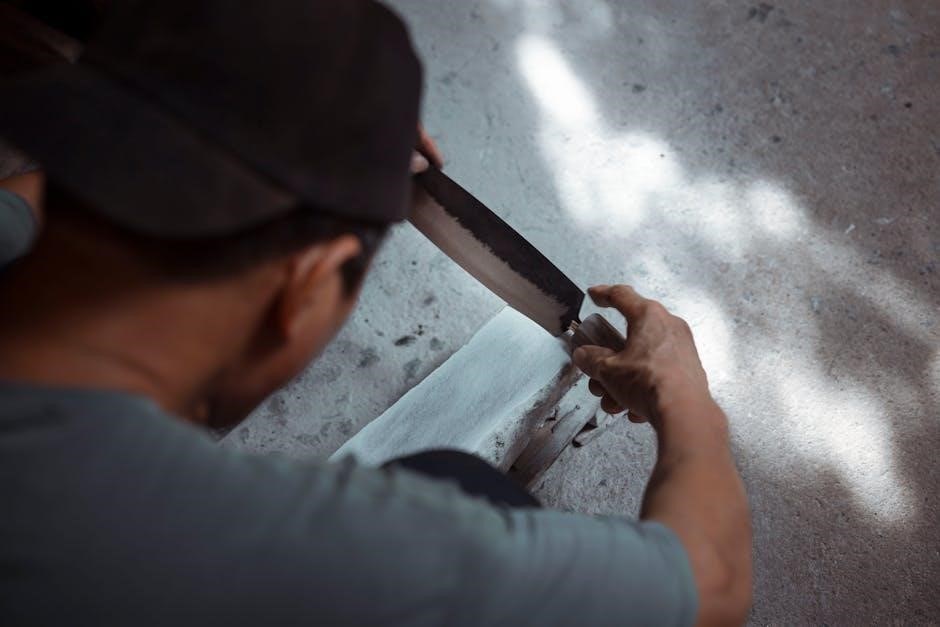
Test the guide by sharpening a knife and evaluating the edge sharpness. Refine the design based on results, ensuring accuracy and repeatability. Adjustments may include angle calibration or material modifications to improve performance and durability, ensuring the guide meets your sharpening needs effectively.
Ensuring Accuracy and Repeatability
To ensure accuracy and repeatability, test the guide by sharpening a knife and checking the edge with a marker or magnifying tool. Adjust the angle guide as needed to achieve consistent results. Use a Sharpie to color the blade’s edge and stroke it across the stone; the ink should wear evenly if the angle is correct. Fold a paper to create reference angles (e.g., 20° or 30°) and compare them to your guide. Fine-tune the design by tightening or loosening components to align with the knife’s geometry. Precision and consistency are key to achieving razor-sharp edges every time.
Using the Completed Sharpening Guide
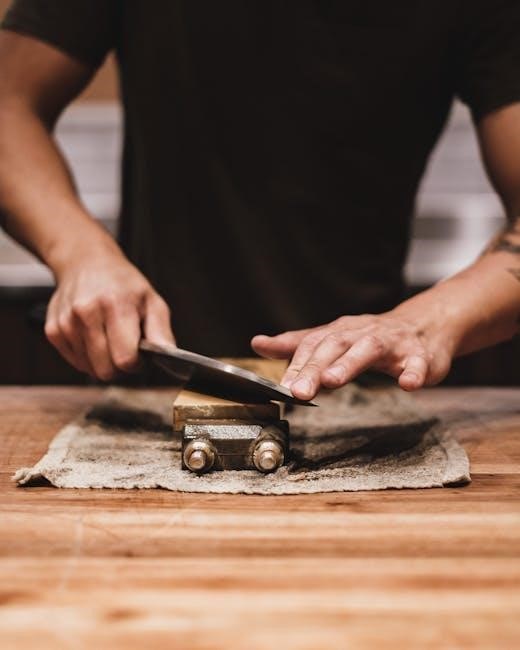
Place the blade in the guide, aligning it at the desired angle. Adjust the guide to fit the knife’s geometry, then stroke it across the sharpening stone. Repeat until sharp, maintaining consistent pressure for even results. This method ensures precise edge alignment and effortless sharpening every time.
A Step-by-Step Sharpening Process
Prepare your sharpening stone and position the knife in the guide at the desired angle.
Color the blade’s edge with a marker to visualize the sharpening process.
Draw the knife across the stone in smooth, consistent strokes, maintaining the set angle.
Check progress by inspecting the edge; repeat until the marker ink is removed.
Flip the knife and sharpen the other side, ensuring symmetry.
For finer edges, reduce pressure and repeat with lighter strokes.
Inspect the blade for sharpness and adjust the angle if needed for optimal results.
Maintenance and Troubleshooting
Regularly clean the guide and check for wear. Ensure all parts are secure for stability. If the angle slips, realign and tighten screws. Check blade alignment for even sharpening;
Tips for Longevity and Common Issues
To extend the life of your homemade knife sharpening guide, ensure it remains clean and dry. Regularly inspect for wear and tear, especially on moving parts. For common issues like misalignment, check if the blade is properly seated and the guide is stable. If the angle slips during use, tighten the screws or adjust the mechanism. Avoid using excessive force, as it may damage the guide. For stubborn angles, use a marker to mark the edge and test adjustments until the ink is evenly removed. Store the guide in a protective case to prevent accidental damage and ensure longevity.
Creating a homemade knife sharpening angle guide offers a cost-effective solution for precise blade maintenance. With proper care, it provides consistent results, making it a valuable DIY project for knife enthusiasts.
Benefits and Limitations of Homemade Guides
Homemade knife sharpening angle guides offer several benefits, including cost-effectiveness and customization to specific knife types. They provide a stable framework for maintaining precise angles, enhancing sharpening consistency. However, limitations exist, such as potential inaccuracies in DIY construction and durability issues with certain materials. While they are excellent for enthusiasts, they may lack the precision of commercial models. Regular maintenance and calibration are crucial to ensure longevity and accuracy. Despite these drawbacks, homemade guides remain a practical solution for those seeking to improve their sharpening skills without significant investment.