Welcome to the Lil Sew n Sew manual! This guide helps you master the compact, portable Lil Sew n Sew machine, perfect for beginners and experienced sewers. It covers setup, threading, basic operations, troubleshooting, and maintenance to ensure optimal performance and longevity of your machine.
1.1 Overview of the Lil Sew n Sew Machine
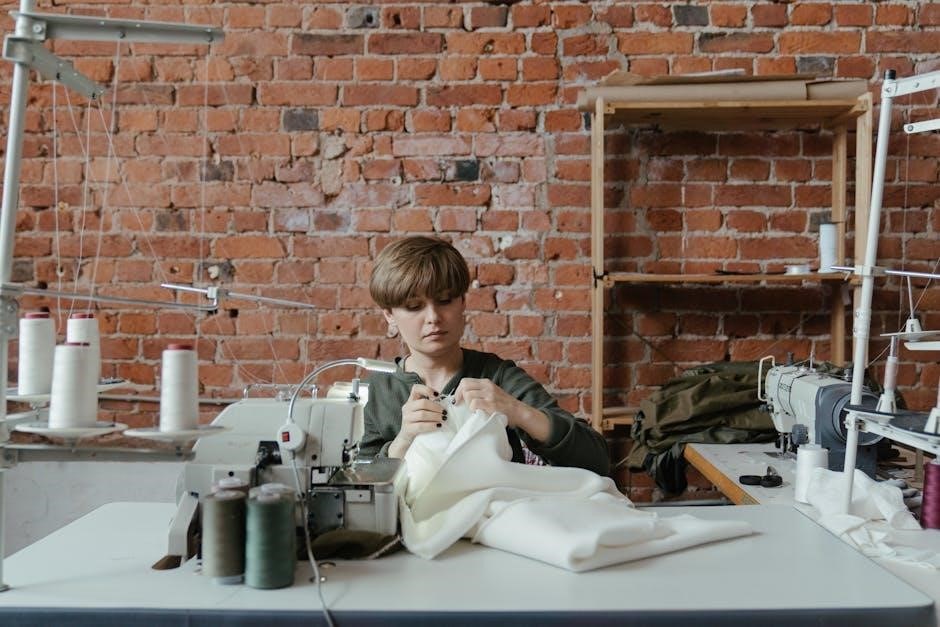
The Lil Sew n Sew machine is a compact, portable sewing machine designed for both beginners and experienced sewers. It comes with a starter kit, including presser feet, thread spools, and bobbins, making it ideal for small projects. The machine features a free arm, perfect for sewing cuffs and sleeves. Its lightweight design and user-friendly interface ensure ease of use, while the included manual provides clear guidance for setup and operation.
1.2 Importance of the Manual for Beginners and Experienced Sewers
The Lil Sew n Sew manual is essential for mastering the machine, whether you’re a novice or an experienced sewer. For beginners, it provides step-by-step guidance on setup, threading, and basic operations. For seasoned sewers, it offers advanced techniques and troubleshooting tips to optimize performance. The manual ensures smooth operation, helping users avoid common mistakes and maintain their machine effectively, making it an indispensable resource for all skill levels.
Setting Up the Lil Sew n Sew Machine
Unbox and inspect the machine, ensuring all components are included. Place it on a stable, flat surface for optimal performance and ease of use.
2.1 Unboxing and Initial Setup
Begin by carefully unboxing the Lil Sew n Sew machine and inspecting all included components, such as the presser feet, bobbins, and threading guide. Place the machine on a stable, flat surface to ensure even operation. Before use, familiarize yourself with the machine’s parts and controls. Ensure the presser foot is in the raised position and the needle is at its highest point for safe handling and preparation.
2.2 Placing the Machine on a Stable Surface
Position the Lil Sew n Sew machine on a sturdy, flat table or work surface to ensure stability during operation. Avoid placing it near edges or unstable areas to prevent accidental tipping. Keep the machine away from direct sunlight or moisture to maintain optimal performance. Ensure the surface is clear of clutter and distractions, allowing for smooth, uninterrupted sewing sessions. Proper placement enhances safety and sewing accuracy.

Threading the Machine
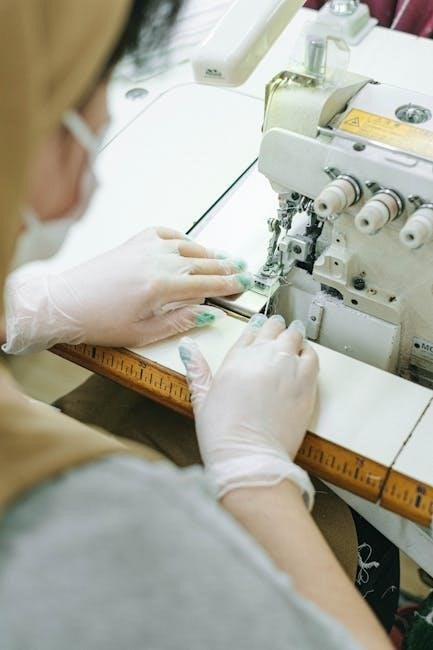
Threading the Lil Sew n Sew machine involves guiding the upper thread through the tension discs and needle. Ensure the presser foot is up and thread runs smoothly from front to back for proper tension and stitching. Correct threading is essential for consistent stitches and optimal performance.
3.1 Threading the Upper Thread
To thread the upper thread, raise the needle to its highest position and ensure the presser foot is in the UP position. Guide the thread through the tension discs at the front of the machine, from front to back. Pull the thread gently to ensure it seats properly in the tension discs. Leave about 2-3 inches of thread loose before threading the needle. Always refer to the manual for specific threading paths to avoid misalignment and ensure smooth stitching.
3.2 Threading the Bobbin and Installing It
To thread the bobbin, unwind 4-5 inches of thread and carefully place it into the bobbin case. Ensure the thread is seated properly in the bobbin’s slot. Gently pull the thread to secure it in place. Insert the bobbin into the machine’s bobbin case, aligning it correctly to avoid loose movement. Make sure the bobbin is snug and evenly positioned to maintain consistent stitching and prevent jamming during operation.

Basic Sewing Operations
Mastering basic sewing operations ensures smooth stitching. Start with the first stitch, then adjust thread tension for even fabric flow. Proper techniques guarantee professional results every time.
4;1 Starting Your First Stitch
Begin by turning the hand wheel to raise the needle to its highest position. Ensure the pressure foot is in the up position and the thread is correctly threaded. Gently pull 2-3 inches of thread through the needle from back to front. Place your fabric under the needle, aligning it evenly. Lower the pressure foot and slowly turn the hand wheel to create your first stitch. Keep the fabric steady for a smooth start.
4.2 Managing Thread Tension
Proper thread tension is crucial for smooth stitching. Ensure the upper thread is threaded correctly and the bobbin is installed tightly. If stitches are uneven, adjust the tension discs on the machine. For the bobbin thread, check the bobbin case alignment and tighten if necessary. Test the tension by sewing on scrap fabric and adjust until the stitches are balanced and consistent. Proper tension prevents loose or puckered fabric.
Troubleshooting Common Issues
Proper thread tension ensures even stitching. Check the bobbin case alignment and tighten if necessary. Adjust the upper thread tension discs for balanced stitches. Test on scrap fabric to ensure consistency, avoiding loose or puckered fabric. Correct tension prevents thread breakage and ensures smooth sewing performance. Always refer to the manual for specific tension adjustment guidelines for your Lil Sew n Sew machine.
5.1 Bobbin Case Alignment and Tightening
Proper bobbin case alignment is crucial for smooth stitching. If the bobbin case becomes loose or misaligned, it can cause thread jams or uneven stitches. To fix this, gently realign the bobbin case to its correct position, ensuring it sits snugly in the machine’s throat. Tighten the retaining screw firmly but avoid over-tightening, which might damage the machine. Always refer to the manual for precise alignment guidance to maintain optimal sewing performance.
5.2 Resolving Thread Jamming Problems
Thread jamming can disrupt your sewing flow. To resolve this, turn off the machine and carefully cut any loose thread. Gently remove the jammed thread from the machine without pulling forcefully, as this could damage internal components. Ensure the needle is in its highest position before rethreading. Regularly cleaning and oiling the machine can help prevent future jams, ensuring smooth operation and consistent stitching quality.
Maintenance and Care Tips
Regular maintenance ensures your Lil Sew n Sew machine runs smoothly. Oil moving parts, clean dust, and check for wear. Proper care extends its lifespan and performance.
6.1 Oiling the Machine Regularly
Oiling is crucial for maintaining your Lil Sew n Sew machine. Use sewing machine oil on moving parts like the handwheel, gears, and bobbin area regularly. This prevents rust and friction, ensuring smooth operation and reducing noise. Always unplug the machine before oiling and wipe off excess oil with a soft cloth to avoid attracting dust. Regular lubrication keeps your machine running efficiently and prolongs its lifespan.
6.2 Cleaning the Machine After Use
Regular cleaning is essential for maintaining your Lil Sew n Sew machine. Use a soft brush or cloth to remove lint and debris from the bobbin case, feed dogs, and other visible areas. Avoid harsh chemicals or wet cloths, as they may damage the machine. Gently wipe down surfaces with a dry cloth to prevent dust buildup. This routine ensures smooth operation and prevents thread jams, keeping your machine in excellent condition for years to come.
Accessories and Optional Attachments
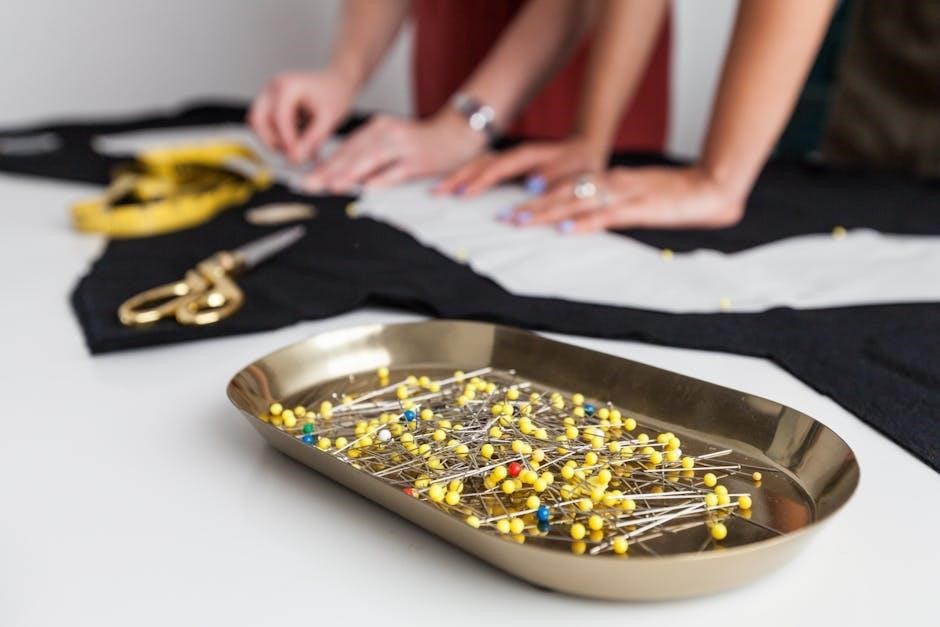
The Lil Sew n Sew machine comes with essential accessories like presser feet, metal bobbins, and thread spools. Optional attachments, such as a zipper foot, can enhance functionality for specialized projects.
7.1 Presser Feet and Their Functions
Presser feet are essential for various sewing tasks. The all-purpose foot is ideal for straight stitching, while the zipper foot is perfect for sewing zippers and thick fabrics. The blind hem foot is designed for invisible hems, and the free arm allows easy access for small projects like sleeves and cuffs. Each foot is tailored for specific tasks, ensuring precision and versatility in your sewing projects.
7.2 Using the Free Arm for Small Projects
The free arm on the Lil Sew n Sew machine is ideal for sewing small or cylindrical projects like cuffs, sleeves, and collars. By removing the flatbed attachment, you gain easy access to the free arm, allowing precise control over curved or narrow areas. This feature is perfect for detailing and ensures smooth stitching on intricate or hard-to-reach areas of your sewing projects.
Sewing Projects for Beginners
Start with simple projects like hemming clothes or sewing small accessories to build confidence. These easy tasks help you get familiar with the machine’s functions and capabilities.
8.1 Simple Projects Like Hemming Clothes
Hemming clothes is a great starting point for beginners. It’s a straightforward project that teaches you how to work with fabric and straight stitches. Start by turning the raw edges under, then press for crisp folds. Use the machine’s basic straight stitch setting to secure the hem in place. This project helps you practice fabric handling and thread tension. It’s a quick way to achieve a professional finish, even if you’re new to sewing.
8.2 Sewing Small Accessories
Sewing small accessories is a fun way to practice your skills. Start with simple projects like coin purses, fabric keychains, or pouches. These projects teach you how to handle small fabric pieces and practice straight stitching. They’re quick to complete and help build confidence. Use the machine’s free arm for better control when sewing small items. These accessories are perfect for personal use or as gifts, making them a great way to start your sewing journey.
Advanced Techniques
Unlock your creativity with advanced techniques like backstitching, adjusting stitch length, and width. These features allow for secure seams and decorative stitching, enhancing your sewing projects.
9.1 Backstitching for Secure Seams
Backstitching reinforces seams by sewing backward at the start and end of a stitch line. This technique prevents fraying and ensures durability, especially for heavy fabrics or stress points. To backstitch, sew a few reverse stitches, then continue forward. This method is ideal for garment construction, home decor, and any project requiring strong, long-lasting seams.
9.2 Adjusting Stitch Length and Width
Adjusting stitch length and width on the Lil Sew n Sew machine customizes stitching for different fabrics and projects. The stitch length dial offers short, medium, or long stitches, ideal for various materials. Stitch width adjustment ensures even seams and prevents stretching. Testing settings on scrap fabric before sewing ensures desired results and avoids mistakes easily.
Safety Precautions
Always keep loose clothing tied back and avoid dangling jewelry. Keep children away while sewing. Use the machine on a stable, flat surface and handle needles with care.
10.1 Avoiding Accidents While Sewing
To avoid accidents, always ensure the machine is placed on a stable surface and keep loose clothing or jewelry away from moving parts. Keep children and pets away while operating the machine. Never touch the needle or presser foot with bare hands, and always use the needle guard if provided. Regularly inspect the machine for damage or wear.
10.2 Storing the Machine Safely
To store the Lil Sew n Sew machine safely, always unplug it and ensure it is turned off. Clean the machine thoroughly before storage to prevent dust buildup. Cover the machine with a protective cover or cloth to shield it from dust and moisture. Store it in a dry, cool place, out of reach of children and pets. This ensures longevity and prevents accidental damage.